

As many of us prepare to spend the summer adapting old courses for online learning, it’s easy to feel overwhelmed. There are so many tools, software and technologies that can expand the learning experience way beyond the classroom, turning our repositories into complex environments that promote interaction and social learning.
Here is an infographic I created, with my golden rules: six criteria that I follow when I need to select appropriate tools for an online course. Feel free to use it but do not forget to cite the source!
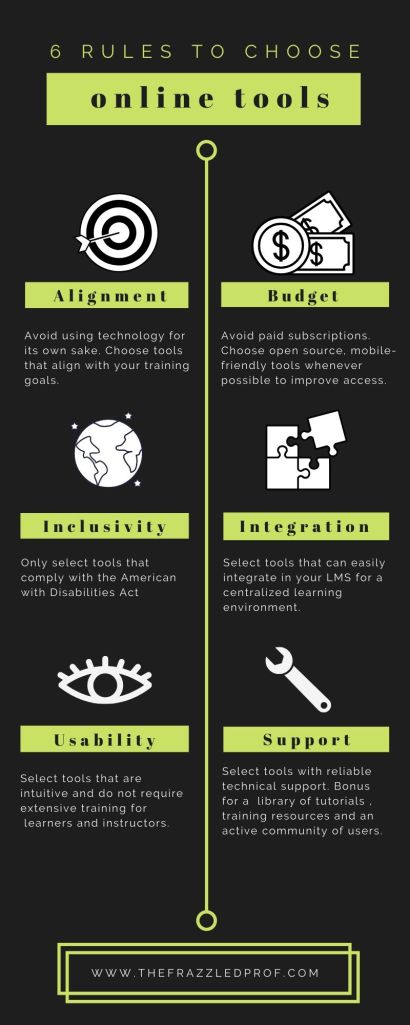
#1. Alignment.
It is very easy to fall in love with a shiny new gadget when you are passionate about online learning. There are so many technologies allowing us to do so many great things! Before considering a new tool, always ask yourself: do I really need a new tool? Better yet, start from your desired outcome, then a teaching goal, then articulate a teaching method (or an activity) and then, only then, consider what tools you may need to do it. This will help minimize distractive use of technology and keep your learning environment on point. Don’t fall into the trap of “cool.”
#2. Budget.
A good tool is one that is affordable for learners, instructors, and institutions. There are multiple layers to the question of budget: it is primarily a matter of equity and accessibility for your learners, but there are also other considerations. For instance, a time when most colleges are facing epic shortfalls in their budgets and considering mass layoffs might not be the most appropriate moment to request a pricey new license for a fancy authoring tool, or the latest shiny piece of hardware. Here are some tips that I have discovered mostly by trial and error:
- Ideally, you may want to give priority to resources that are open source and free.
- If there are no suitable open source and/or public tools for your instructional goal, you may want to prioritize resources that your institution makes available for free, such as repositories provided by the library or other tools for which your school owns a license. Think Kanopy over Netflix.
- If you really can’t find a suitable tool among the ones already provided by your institution, you may want to select one that has a tier of free membership available both for educators and students. There are a few caveats to this. First, free membership tiers typically give access only to the most basic functionalities, which might not be enough to achieve your goal. Second, even if free licenses are currently available, it is always possible that restrictions will be implemented in the future. If that happens, in a year or two you will have to choose whether to upgrade to a paid subscription OR lose content you have previously created. So keep in mind that this might be only a temporary solution, but still worth considering if it helps in a pinch. Third, you may want to check the copyright policies for materials that you will create and disseminate through the platform. Who will own the intellectual property rights? You, your school or a third party? Consider all implications of this – including the need to maintain FERPA compliance (if you are working in an institution of higher learning in the US) and protect the privacy of your students who might have to share personal data to access your tool of choice.
- Another dimension to affordability is excessive reliance on high-speed internet, which may create extra obstacles for students from underprivileged backgrounds. A mobile-friendly tool may also be more equitable, as some students may have an easier time accessing a data connection in shared or precarious housing conditions, or may have to share one computer with several other family members.
Unfortunately, budgetary issues often create a barrier to access: just consider the steep price of many textbooks and, more broadly, the astronomical cost of higher education (at least in the US). However, we can at least try to avoid generating extra costs through the use of technology. Ideally, we may even want to use technology to make education more affordable, by tapping into the unprecedented wealth of instructional resources available for free.
#3. Inclusivity.
A good tool is one that avoids creating further obstacles to the participation of students. Always check that your preferred tool is compliant with the Americans with Disabilities Act or other regulations specific to your country. Does your tool allow for alt text (and did you actually remember to input it)? Does your video-sharing platform allow captioning? Does it support screen readers? Is information exclusively conveyed through the use of color? Can text be resized without losing readability? If the answer to any of these questions is no, you may want to reconsider your choice and select a different tool.
#4. Integration.
If you are using an LMS to disseminate your content, you may want to consider how easily your tool can integrate in your course website. Ideally, my choice would always go to a tool that can be easily plugged in, to keep all the information consistent and centralized. It’s true that most LMSs such as Blackboard, Canvas and Moodle allow linking of external tools, so this is not a hard pass; however, when possible I prefer to minimize the number of browser tabs my students have to navigate, to help them keep distractions at bay. If you are planning to use your tool for assessment, it’s also important to consider whether it can be linked into your grade book, to provide learners with transparent and centralized feedback. Again, this is a “nice-to-have” feature rather than a “must have”; I would consider using an otherwise perfect tool that cannot be synced with the grade book. However, this is certainly something worth considering when comparing options.
#5. Usability.
It may sound obvious, but it’s still worth repeating: always test tools and platforms thoroughly before adopting them. Make sure you know how to use them, and keep track of how much time it took you to become a proficient user (and please, be honest with yourself!). For those of us who are e-learning geeks, it’s very easy to assume that everyone shares our passion and is constantly itching to try something new. Please, please, please: do not overestimate the abilities of your average learner and don’t assume all of your students are computer whizs just because they are supposedly native digitals. It is also useful to keep in mind that our students have other classes in addition to ours, so they can’t be asked to master a new software every other week. Especially if you are converting your Summer or Fall classes online in a pinch, you might want to keep it simple to avoid to overwhelming your learners (and yourself).
#6. Support.
Finally, make sure that you have access to reliable technical support for the tool you plan to use. If you are a college instructor, is the platform supported by your college? Will your instructional designer(s) be able to smooth over technical difficulties? If the answer is no, you may be on your own whenever a technical problem arises (and it will happen, sooner or later). If you are using your own license, will you at least have an institutional account that entitles you to receive technical support right away, whenever you need it? Finally, is there a library of pre-existent resources you can access or direct others to, in order to troubleshoot problems quickly? While this last feature is not a hard requirement, it can be helpful to have access to resources such as free tutorials, step-by-step guides, or a community of active users who can exchange tips and answer questions so you don’t have to constantly reinvent the wheel.
These are just some of the criteria that I try to meet when selecting tools to integrate in my teaching. Of course, sometimes it is impossible to find a tool that checks all boxes; and sometimes a decision that seems perfect on paper results in extra work for the instructional team, or creates unexpected barriers for students. However, I think it’s important to strive to follow at least some basic principles of equity, accessibility and user-friendliness. These are my golden rules–what are yours?
